

Welcome to Becca's Creative Place my scrapbooking and papercrafting blog. I hope this will be a place that you look to for ideas and inspiration.
Showing posts with label Workshops. Show all posts
Showing posts with label Workshops. Show all posts
Thursday, March 8, 2012
Saturday, February 4, 2012
I just realized this week how neglectful I have been to post on my blog! There's just not enough time in the day to create much less post it on my blog...but I have been creating! And having lots of fun too.
Here is my latest She Art Journal Girl..
 I used paints, stencils and stamps to create the background and pattern paper to create the January Girls dress. The only thing I lack to have this piece finished is the she art phrase...I not set on that yet.
I'm also taking another online workshop...I love the convenience of taking these. In this workshop I am learning how to make "pretty faces". You can check it out here. Here's a sample of what I've made with my own twist on it...


Here is my latest She Art Journal Girl..

I'm also taking another online workshop...I love the convenience of taking these. In this workshop I am learning how to make "pretty faces". You can check it out here. Here's a sample of what I've made with my own twist on it...

Ok, I know what you're thinking..."I thought you said pretty face" and I totally agree with you...this is one of my first and the proportions are wayyyyyy off. But, I turned it into a piece of art in my journal. That's one thing I love about my journal...there are not mistakes. In a later post I will show you a "pretty face" that I'm proud of. I can hardly believe I drew it myself.
I have not left the scrapbook world. I've also been working on a Christmas mini. Here's a sampling of that.


So you can see, I have not left the creative world. Just haven't shared much.
I hope you've enjoyed looking and I hope you have a wonderfully creative day. My grands are coming over today, so I know I'll have a blast!
Happy Scrappin'
Becca
Sunday, November 27, 2011
She Art Girl-It's Me!
I have learned so much from Christy as she has taken me through creating my own SheArt. I have learned techniques and tried a few things that I probably would have never thought to use. If your ready to try a few new things, highly recommend her Christy Tomlinson. You will not be disappointed.
During week 4 Christy takes us through how to personalize our girls. This girl is me as a child.
 Christy challenged me to think back to my childhood and those people who influenced me and create a piece based on that. Well, that was easy for me....I can't think about my childhood without thinking of my Mamaw Mattie.
When I was about nine or ten, Mamaw made me a red poncho with tassels. I still have it today! Also, going to Mamaw's was always an adventure, she had a garden full of flowers and yummy things to eat. And I also knew that I was special to Mamaw. I have fond memories of spending the night with her. I would always sleep with her and to help me relax she would rub my back and tell me to listen to the sounds waaaay off. We always slept with the windows open and I could hear crickets, cars and they would lull me to sleep.
 Here's a close up to get a look at a few details. I really like the way her hair turned out.
 I added orange paint to modeling paste to create the pumpkin. Sorry it's so fuzzy.
Well, I hope you've enjoyed looking and I would love to hear your comments
Until next time...
Becca
During week 4 Christy takes us through how to personalize our girls. This girl is me as a child.

When I was about nine or ten, Mamaw made me a red poncho with tassels. I still have it today! Also, going to Mamaw's was always an adventure, she had a garden full of flowers and yummy things to eat. And I also knew that I was special to Mamaw. I have fond memories of spending the night with her. I would always sleep with her and to help me relax she would rub my back and tell me to listen to the sounds waaaay off. We always slept with the windows open and I could hear crickets, cars and they would lull me to sleep.


Well, I hope you've enjoyed looking and I would love to hear your comments
Until next time...
Becca
Tuesday, November 22, 2011
She Art Doll - Artsy Girl
I just realized that I haven't posted on my blog for a while. I thought, while I'm up @ 4:30 in the morning with nothing to do I might as well do it now :) So here goes...
 I wanted to update you all on my she art doll art. Please meet Artsy Girl....I know it's not very original. This piece is all about texture, texture, texture!
During the workshop, Christy took us through how to add layers of clothes and hats! And take a look at that skirt...don't you love it?! It was created by crinkling strips of paper and laying them on a skirt base. I just love the way it turned out.
I can so relate to the quote on this piece. As I was creating this I did feel as if my inner artist was free to go wherever it would take me. In the end, I'm very please at how it turned out.

Can you see the texture on the sun? I did that by mixing yellow acrylic with modeling paste and spreading it out through a stencil. Nice!
Ok, enough of this...time to get creative.
Until, next time...
Becca
Sunday, October 23, 2011
SheArt Girl # 4
This a a pic of my SheArt Workshop Girl # 4
 This week Christy is showing us how to create layered dresses and hair pieces. I did this piece in my art journal.
I am having so much fun learning how to create these little beauties. If you are interested in taking the workshop and learning how to create your own SheArt check out Christy's blog.
Well, off to my craft room to create girl # 5.
Until next time...
Becca

I am having so much fun learning how to create these little beauties. If you are interested in taking the workshop and learning how to create your own SheArt check out Christy's blog.
Well, off to my craft room to create girl # 5.
Until next time...
Becca
Sunday, October 16, 2011
SheArt Doll Canvas


Can you see all the beautiful layers on this piece. I started by covering the canvas with a piece of
tissue pattern paper. Here's my girl....I call her Child of God. She's so pretty!

This next one I call Angel. Ok, I know I'm not too creative with my names. I may change them but for now "it is what it is". Christy says that a lot in her tutorials!

I added lots of texture to this canvas with modeling paste. I've never used this medium and I really like it. You can use acrylic to color it and it spread it on with a brush, or whatever. I rolled a stamp over the paste before it dried and the stamped image left an imprint in the paste! Love it!

This is my last little girl. I think she may be my favorite. I didn't mean to, but I made her hair gray. I may call her the Artsy GranNan.

Well, I hope you enjoy my creations. I would love to hear your comments. Until next time.....
Becca
Friday, October 7, 2011
Time for Birthday Layout!


It took me....4 months to get this done but...here it is! Noah's 5th Birthday Layout. Look how proud he looks in the focus picture! Yep, we're all here to celebrate you, sweetness.
I used CTMH Fanfare Paper pack and assorted CTMH stamps. The basic design was from a workshop designed by Pam Thorn...thanks again, Pam!
Until next time....happy scrappin'
Becca
Thursday, September 22, 2011
Sophia Layout - Lots of Faux Buttons


Until next time...Happy Scrappin'
Becca
Tuesday, September 20, 2011
Ellas Layout - PK Glitz and Close To My Heart Stamps
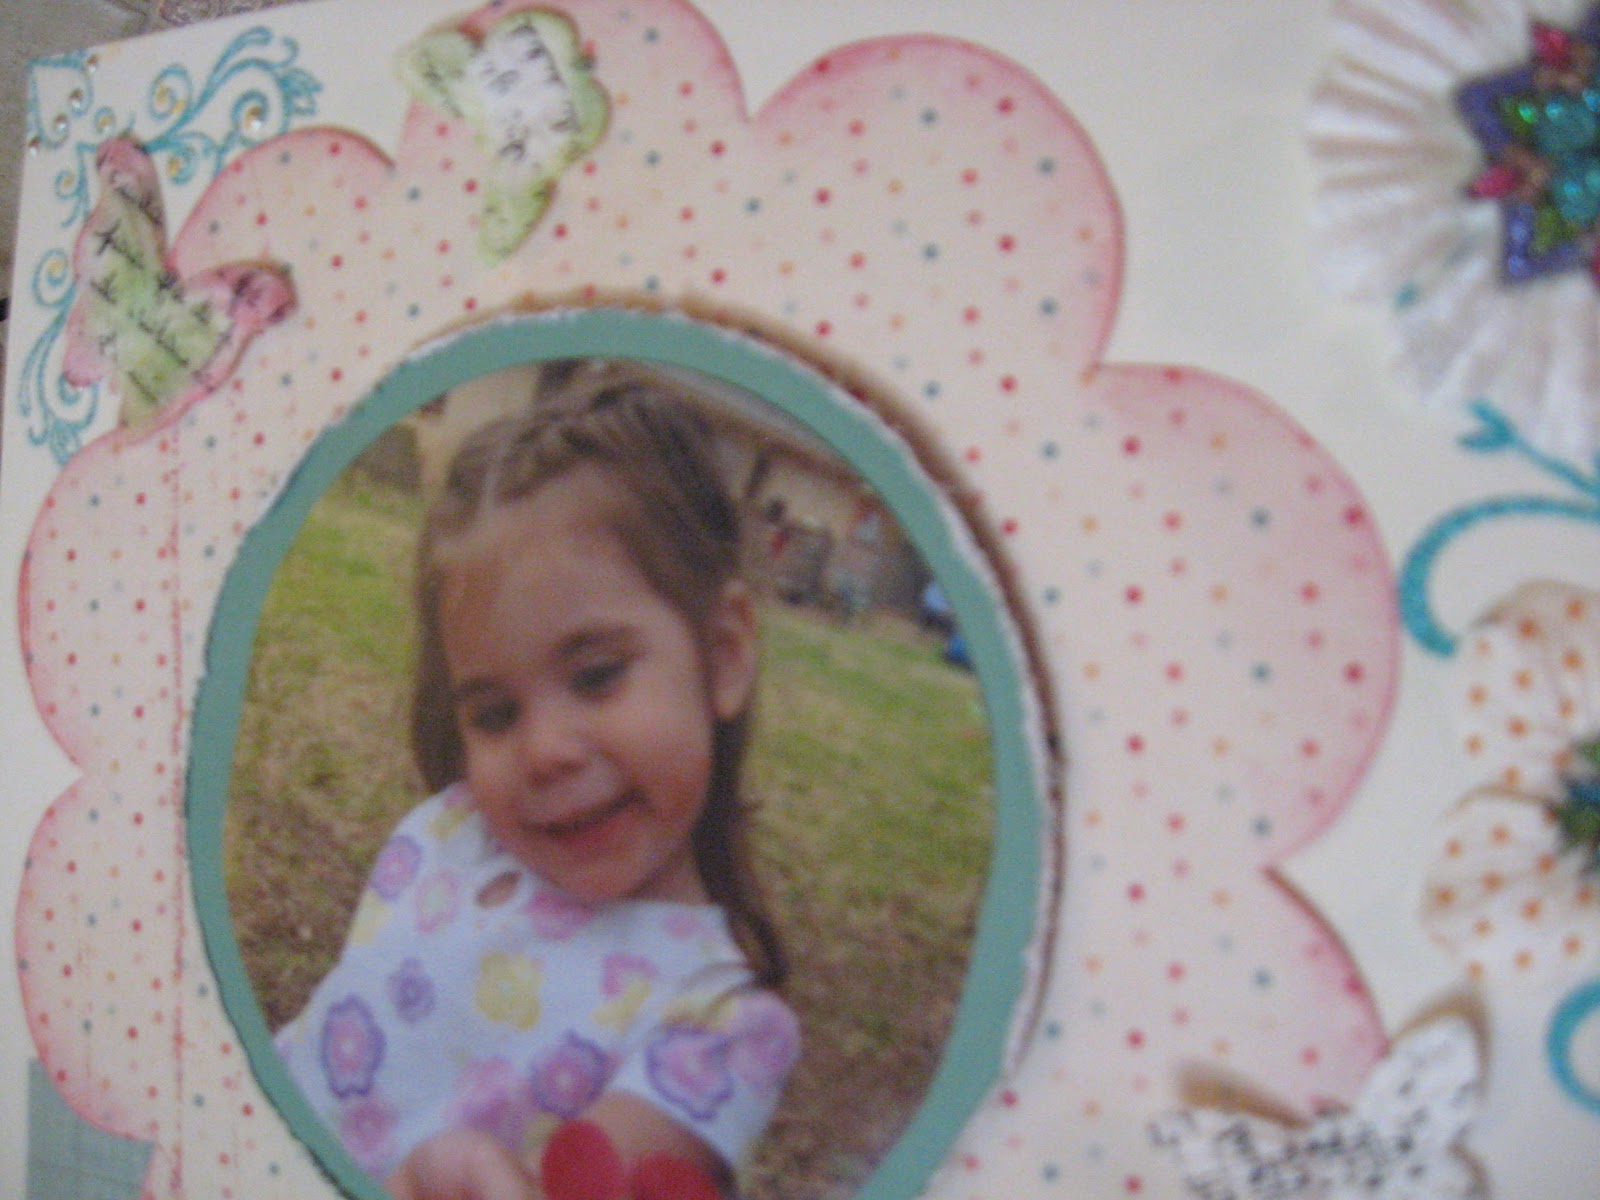
A few weeks ago I mentioned that I went to a PK Glitz Workshop at my local Scrapbook Store. I fell in love with the product...of course, how can you not love glitter! I came home ready to play. Here's a page I did with a few of the products I got at the workshop.
 The flowers stems are stamped with CTMH's Flourishes. I then added silk flowers and glittered snowflakes to the flower centers. Lovin that bling!
 I made the the butterfly accent piece at the workshop and added it to the page as a journal pocket. The butterfly was my inspiration for the piece. It reminded me of a song that Ella likes me to sing to her. We call it the Butterfly Song :)


Well, I hope you enjoyed looking and thanks for stopping by! I love to hear your comments.
Until next time...Happy Scrappin'
Becca


Close To My Hearts white core card stock is so fun to work with. I embossed the tulip card stock then rubbed the image with a sanding block. The white core shows up and really makes the embossed image pop.

I used Close To My Heart's color ready butterflies to accent the pic of Ella. I used Juniper and Tulip ink to add a bit of color.
Until next time...Happy Scrappin'
Becca
Sunday, September 11, 2011
A Little PK Glitz Bling on a Fall Themed Card
Yesterday I had the opportunity to stop by my local scrapbook store, The Crop Spot, and attend a free make-n' take featuring PK Glitz. I was first introduced to the glitter by a fellow Close To My Heart Consultant, Pam Thorn. I fell in love with the product then but I never had the opportunity to get any for myself.
 When I read about the launch party for PK Glitz, I could hardly wait to try it out! Here's a card I made with the one of the pieces I created. Ohh La La! Look at all that bling! Totally awesome. Well, I played last night and am in the process of creating a scrapbook layout featuring my granddaughter. It's all about a song she likes me to sing to her....I don't want to give it away so you'll just have to wait to see my finished project. I can tell you one thing..it's gonna sparkle!
Until then....happy scrappin'
Becca

Until then....happy scrappin'
Becca
Wednesday, July 27, 2011
A preview of a few new items coming in August!
Only a few short days and I will be able to share with you all the wonderful items that are in the new idea book from Close To My Heart. But to give a taste of what's to come. Check out this latest youtube video featuring the new Cricut Cartridge and "Dreamin'" a Workshop on the Go Kits.
Stay tuned for some really great deals in August!
Until then...Happy Scrappin'
Becca
Saturday, June 4, 2011
What's In Your Creative Space Today?
In my creative space I have beautiful flowers, buttons and swirls!

Pages and pages of flowers, buttons and swirls!


There are a few spaces left if you would like to sign up by Monday, June 6. The cost is $35 and you receive a complete Level 2 Sophia paper pack, 1 package of Sophia Stickease, 28 Sheets of Coordinating Cardstock, Stamped Embellishment Sheet, and Workshop Guide.
Happy Scrappin'
Becca
Sunday, April 17, 2011
Mayberry Level 2
Have you ever had a paper pack that you just fell in love with? I have! The beautiful Mayberry Level 2 Paper Pack from Close To My Heart is beautiful! The more I work with it the more I love it. The color pallet is so sweet, Smoothie, Cocoa, Olive and Honey...yummy!

 We used this gorgeous paper @ my monthly scrapbook workshop to complete two double page spreads.

I also used the Mayberry Paper Pack to for this layout.
 Do you like the flower cluster? Yep, Level 2 Stickease again...Close To My Heart definitely makes scrapbooking simple, faster, easier.


See the cute pennant. It's done with the Mayberry Level 2 Stickease Assortment.

I also used the Mayberry Paper Pack to for this layout.


I hope you enjoyed looking at my artwork!
Supply List:
MAYBERRY LEVEL 2 PAPER PACKET $12.95 X7136B
MAYBERRY MY STICKEASE® ASSORTMENT $4.95 X7136C
Exclusive Inks Pads $5.95 Cocoa- Z2114
You can order any of these products on my website.
Happy Scrappin'
Becca
Sunday, March 20, 2011
16 Page Workshop Pics with Lucky Paper Pack


If you would like to get your own Lucky Level 2 Paper Pack and complete a workshop on your own, you can order you kit through MyCTMH site (check out the side bar on this blog) and let me know. I will be happy to get the cutting diagrams and layouts suggestions to you ;)
Next month's workshop will feature Mayberry. You can check that out on my website, too. Mark your calendars for April 16th!
Becca
http//beccasplace.myctmh.com
Wednesday, March 16, 2011
Wings Workshop Page


Next month's workshop we will put together 16 pages from Lucky.
Subscribe to:
Comments (Atom)